
Sealing and insulating your home’s duct work can reduce […]
Sealing and insulating your home’s duct work can reduce the amount of conditioned air leaking from your. Not only does flexible duct tape sealing your duct work improve its performance and increase your home’s energy efficiency, but it also reduces the possibility for dangerous backdrafting carbon monoxide from water heaters and clothes dryers.Energy efficiency-savvy homeowners already know to look for holes, gaps, or kinks in their duct work. But when it comes to applying a sealant like duct mastic, they get a little nervous about what’s the best way to use the stuff.Applying duct sealant is inexpensive and very easy to do but it does help if you know some of the techniques and little tricks that prevent the job from becoming a total mess.
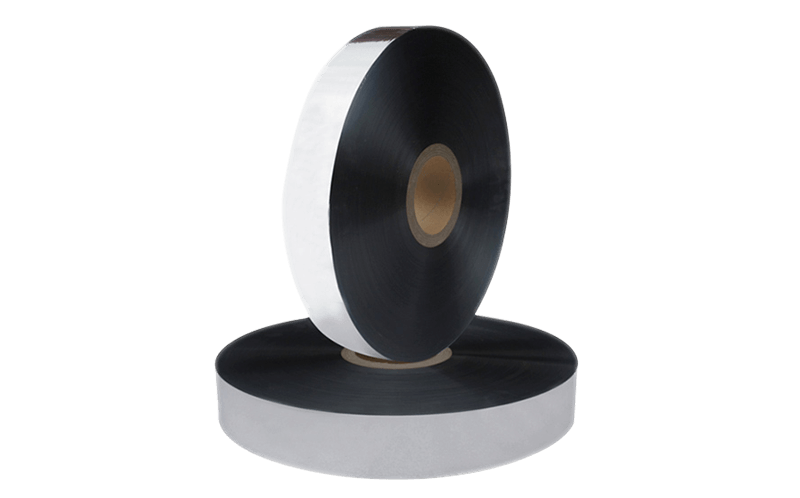
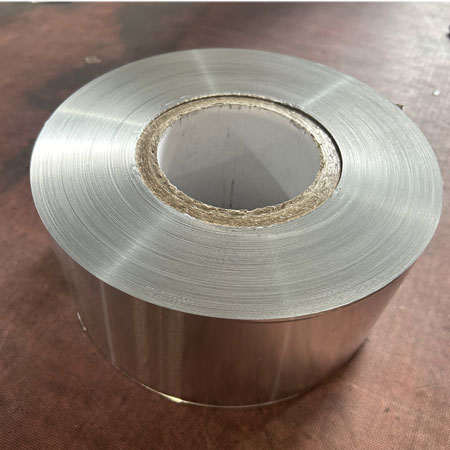
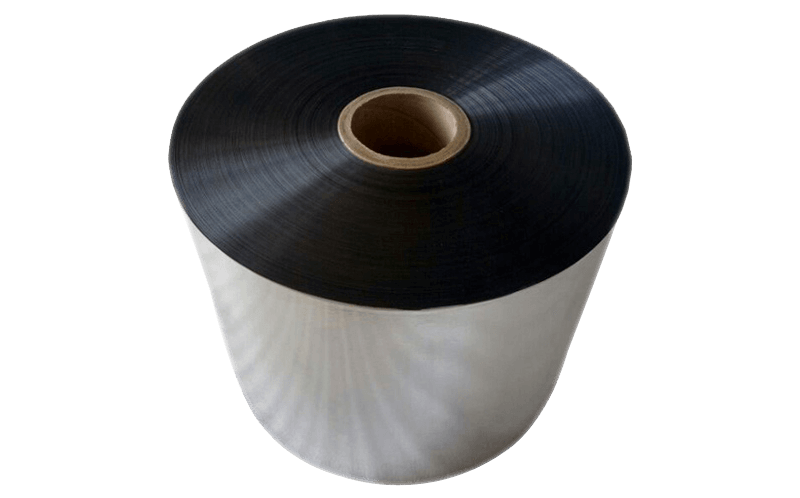
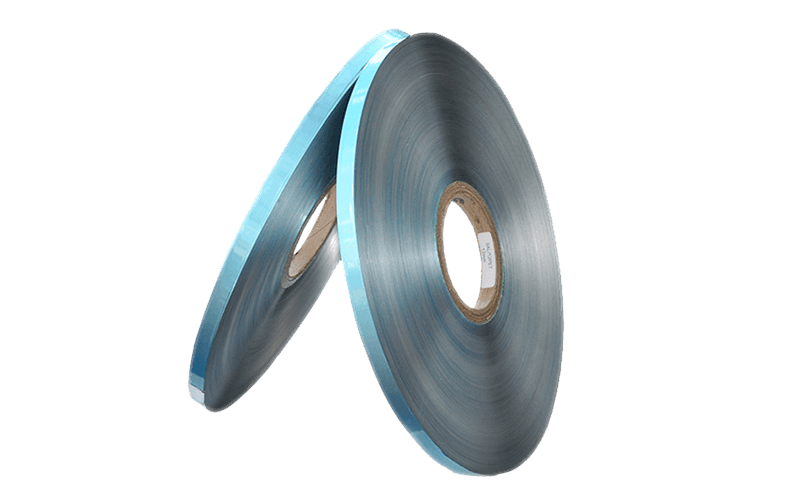
Fortunately, I’ve gone ahead and already made all those messy mistakes for you.Regular vinyl duct tape will do a good job of sealing duct work as long as you prep the surface so it’s clean and dry. But lab experiments show that the tape falls apart in 1 to 5 years. On average, the tape’s adhesive dries out within one year and it breaks down faster during the heating season. The tape also tends to contract and wrinkle with the outer vinyl skin separating from the adhesive mesh.While aluminum tape works best for flex duct connections, mastic is the preferred stuff for sealing metal ductwork because you can work it deep into crevices in seams on individual pieces such as elbow joints, straight sections, and boots.
There are two big things to consider when you plan to seal your duct work with mastic . First is that the duct work surface will need to be clean and free of dust, dirt or any grease.The second thing is the drying time. Because you’ll be sealing air leaks, the pressure of the air moving through the duct work will be higher. Mastic needs to dry and cure so it won’t be ready to handle the air pressure for between 48 and 72 hours. So if you want to be comfortable during that period, you’ll want to apply the stuff when outside temperatures are moderate enough to leave your HVAC system off for a few days.When you first open a bucket of this mastic, you’ll see that it’s thick and gray somewhere between peanut butter and tar. Manufacturers recommend applying mastic with a brush, spatula, or putty knife. I found it was easiest to use a putty knife to smear the mastic onto the metal ductwork joints to get a good coverage.
On sections where one duct section inserts into another, push the mastic into that seam firmly. It’s a lot like frosting a layer cake so the sides are nice and even.In the past, I have tried to use paint brushes to spread and smooth the mastic into the all the crevices, however, I discovered that paint brushes are apt to collect a LOT of the mastic among their bristles. In just a few strokes, you wind up getting more trapped inside the brush than you do on the seams.In order to avoid wasting too much of the mastic, I switched over the using those cheap black foam paint brushes . They didn’t trap much of the mastic and I could use my fingers to press down and wipe the mastic more precisely into the places I wanted it to go. Another perk was cleaning the mastic out of these foam brushes was so much easier and much less time consuming.While it’s usually easier if you are to disconnect your duct work to apply the mastic, it’s not crucial. You can apply the stuff to ducts that are already in place.

 English
 简体中文
简体中文 русский
 España
 Deutsche
 CONTACT US